


If this is the first time you have added an email account to Windows 10 mail then please follow the instructions below using the Setup Wizard.
If you have already have an email account setup in Windows 10 Mail, then please follow the instructions further down the page.
Open Windows 10 Mail from the start menu.
If you have just installed Windows 10 then click on the Start Menu in the bottom left hand corner..
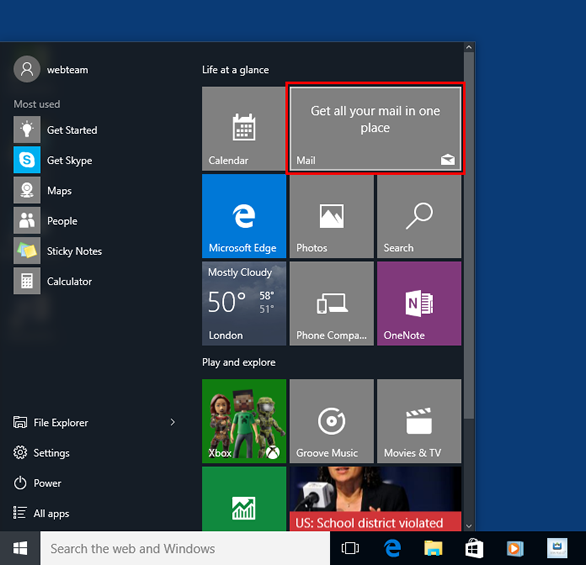
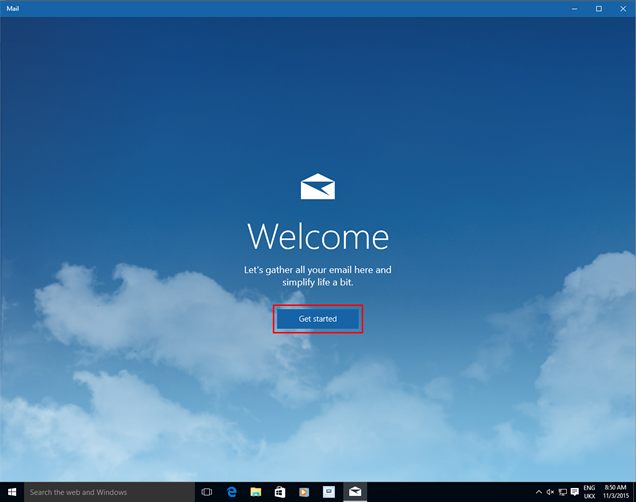
If this is the first time you have opened Windows 10 Mail then the Startup wizard will show.
Click Get Started.
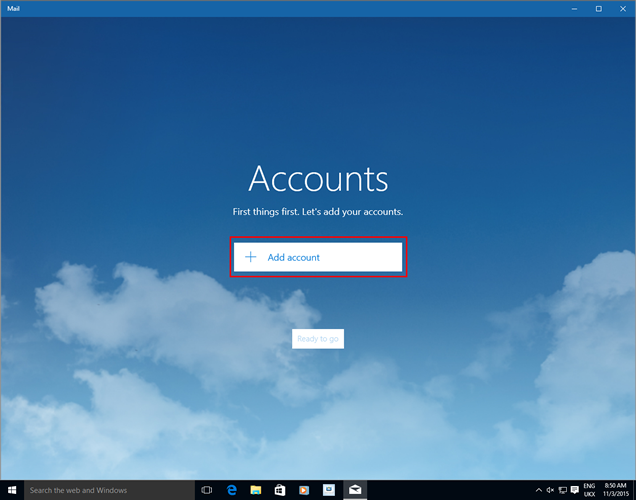
Windows 10 Mail will ask you to add an account. Click on the Add Account button.
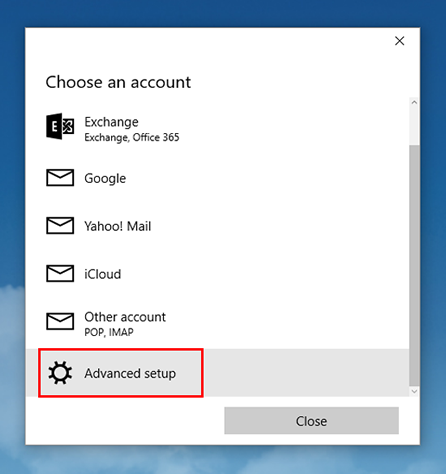
You should now see a new panel popup showing a list of 6 options of the types of accounts you can add.
Please scroll down in this panel to see a 7th option, which is Advanced Setup
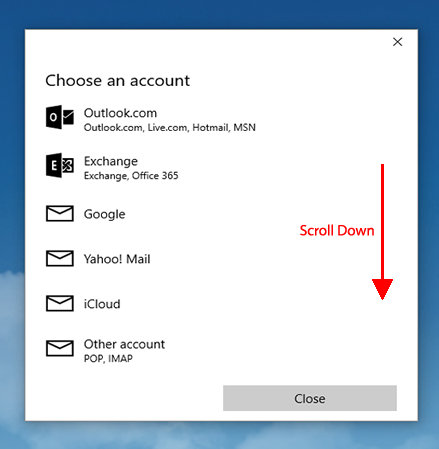
Please select the Advanced Setup option to proceed
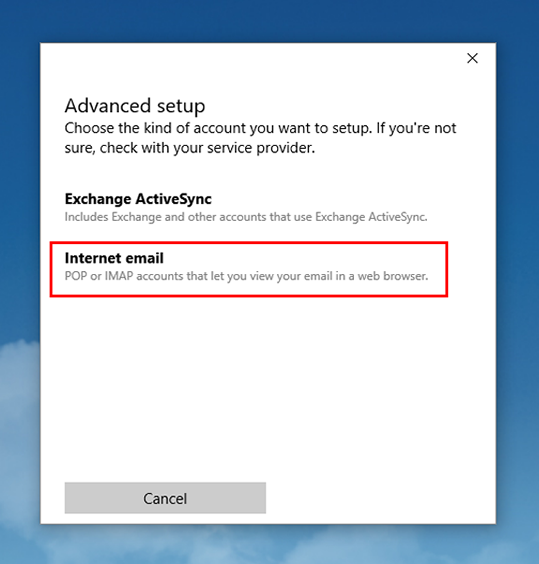
On the next screen please select the Internet Email option
You now need to enter your account details in the fields you see
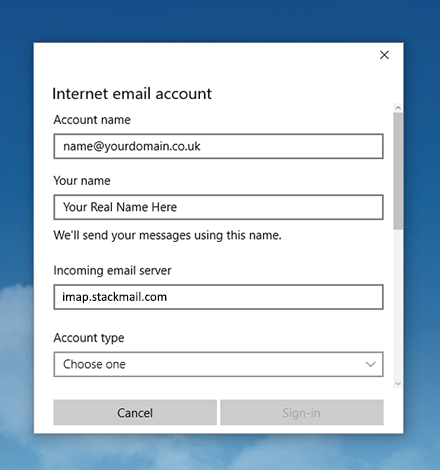
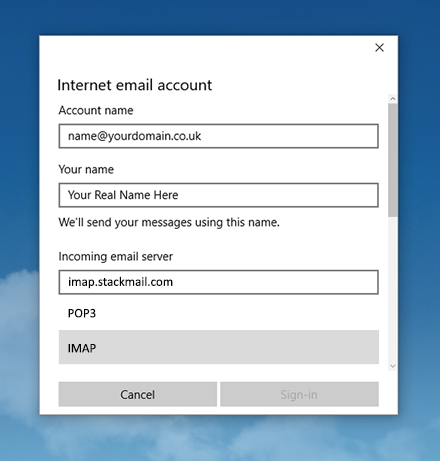
Account Type:
Option Chosen

Please continue to scroll down in this settings box to see more of the settings...
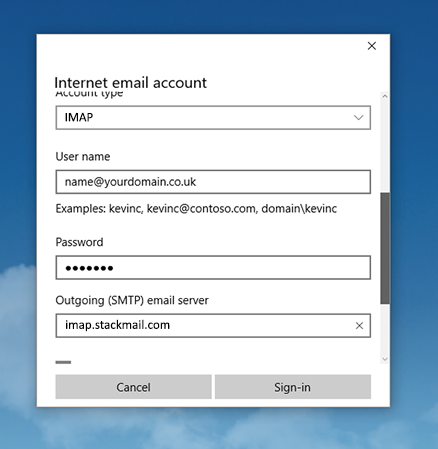
To view the last few settings in this box please continue to scroll down...
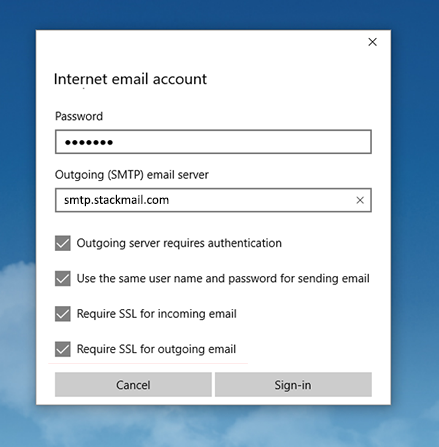
The last four setting in this panel are shown above, they are:
These all need to be ticked.
One you have added all your email account details you can click the Sign-In button.
Once you have clicked the Sign-in button you should see the following message...
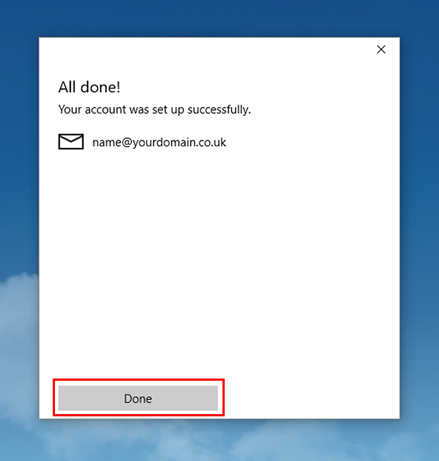
You can now click the Done button.
You are now done, click the Ready To Go button.
Windows 10 Mail will now connect to your email account and show you any emails in your inbox.
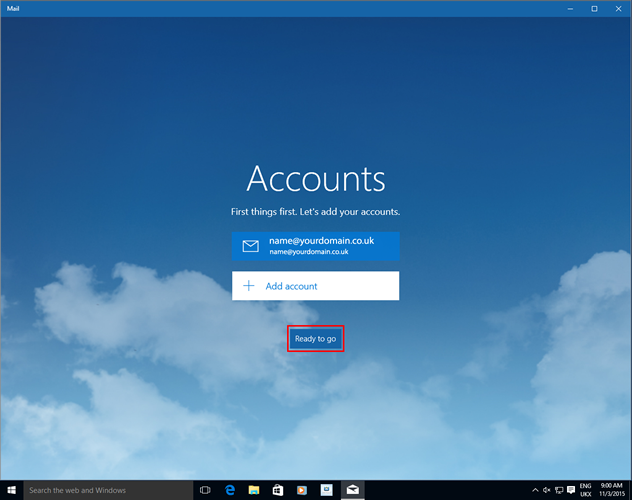
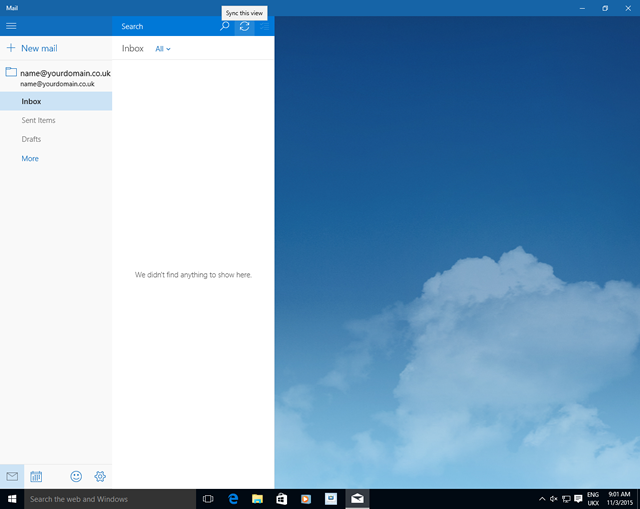
That's it, you are done. Congratulations.
You’ve now configured Windows 10 Mail to send and receive email using IMAP4 or POP3. Depending on which option you chose earlier.
Open Windows 10 Mail from the start menu.
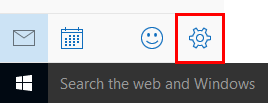
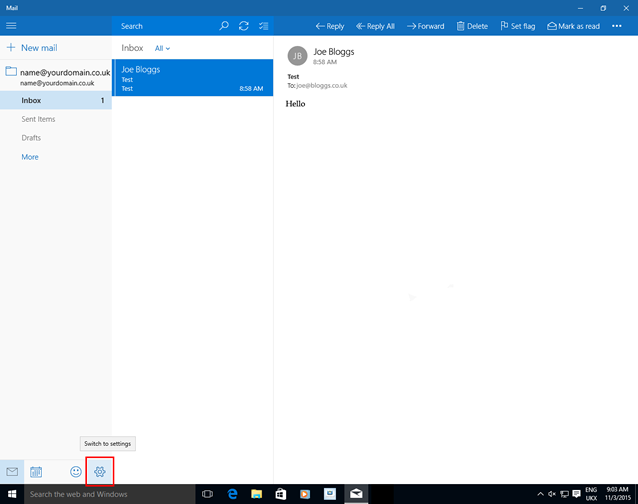
If you have an email address already setup in Windows 10 Mail then when you open Windows 10 Mail you should see something like the following screen in the bottom left hand corner.
Please click on the cog icon.
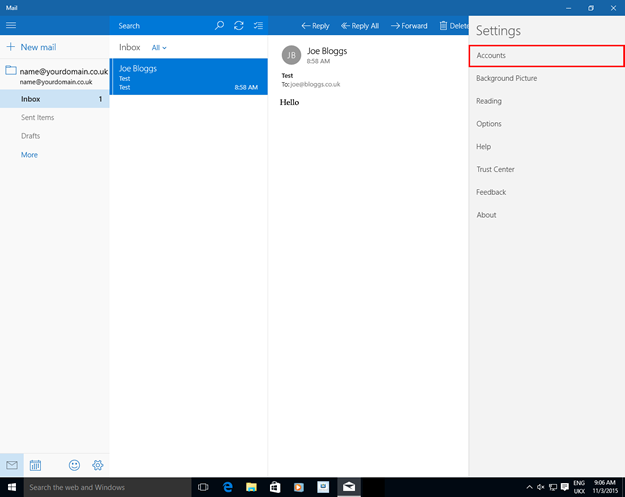
Once you have clicked on the cog you should see a new panel appear on the right hand side of the window.
Now click on the Accounts option
Now click on the + Add Account button to add your new email address.
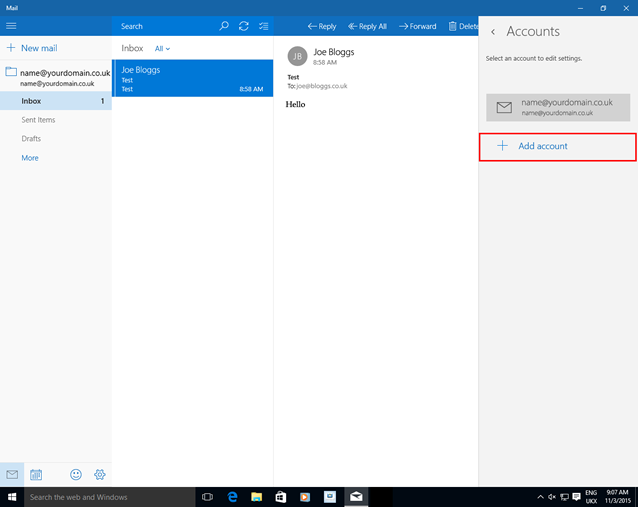
You should now see a new panel popup on your screen, showing a list of 6 options of the types of accounts you can add.
Please scroll down in this panel to see a 7th option, which is Advanced Setup
Please click the Advanced Setup option to proceed
On the next screen please select the Internet Email option
You now need to enter your account details in the fields you see.
Account Type:
Option Chosen
Please continue to scroll down in this settings box to see more of the settings...
To view the last few settings in this box please continue to scroll down...
The last four setting in this panel are shown above, they are:
These all need to be ticked.
One you have added all your email account details you can click the Sign-In button.
Once you have clicked the Sign-in button you should see the following message...
You can now click the Done button.
That's it, you are done. Congratulations.
You've now configured Windows 10 Mail to send and receive email using IMAP4 or POP3. Depending on which option you chose earlier.