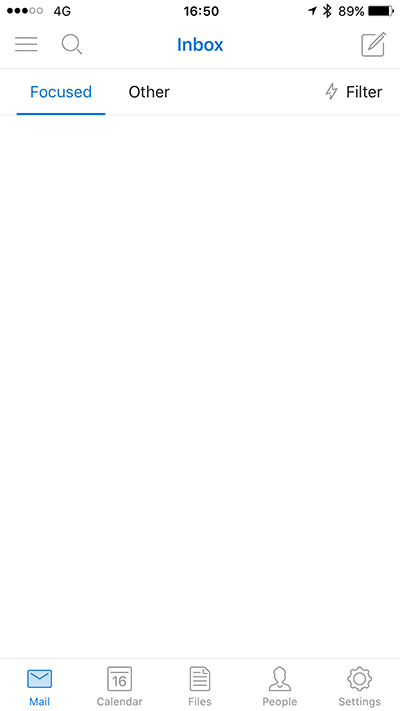


If this is the first email account you’re setting up in the Outlook App on your iPhone, then please open the Outlook App and follow the instructions below.
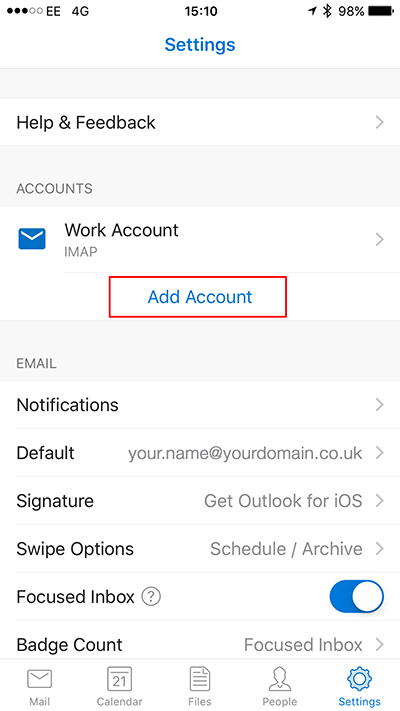
If you are adding another account to the outlook app, then open the app up and click on the settings button in the bottom right hand corner of the screen.
Follow these steps Outlook App > Settings > Add Account > Add Email Account
You will then see the following screen...
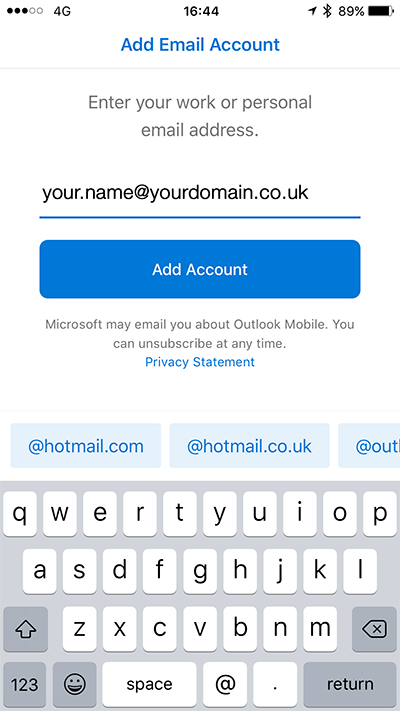
On the first screen you will be asked for your email address...
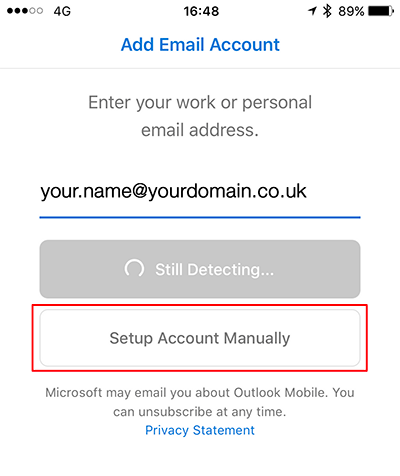
After you have tapped the “Add Account” on the last screen you will then see the following screen. You will need to quickly tap the “Setup Account Manually” to progress as the automatic setup will not work.
On the following screen you will be given seven options to choose from, the one you will need to select is the “IMAP” option.
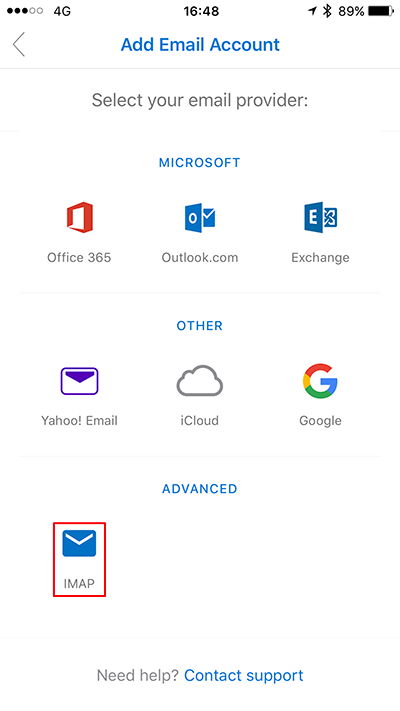
When you have tapped the IMAP option you will then be prompted to enter your email account details...
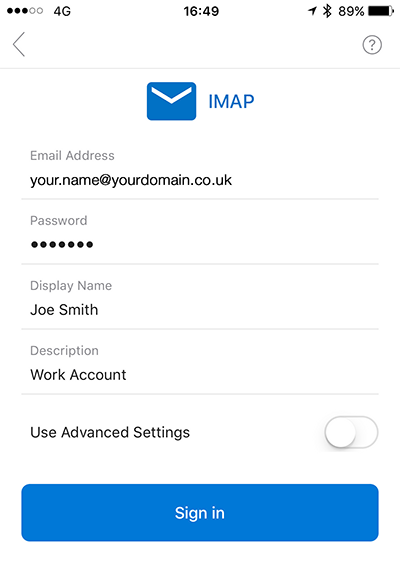
Enter:
Now click on the “Use Advanced Settings” The screen will now expand and you will see the advanced settings. See the following screen.
In the ”Advanced Settings” Enter the following information:
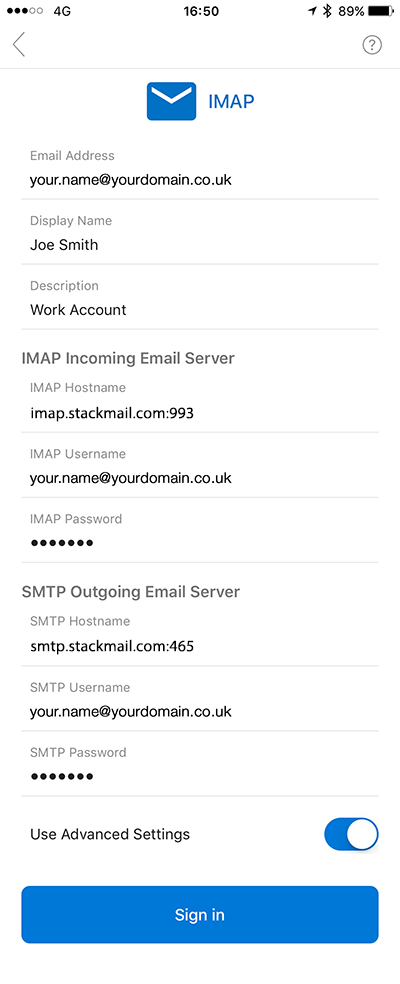
Once you have entered all of the “Advanced Setting” you can tap on the “Sign In” button
After a few moments you will be presented with the following pop-up screen, informing you that you were unable to log-in using a secure connection and would you like to log-in any way. Please tap the “Log-in” option to continue to log-in.
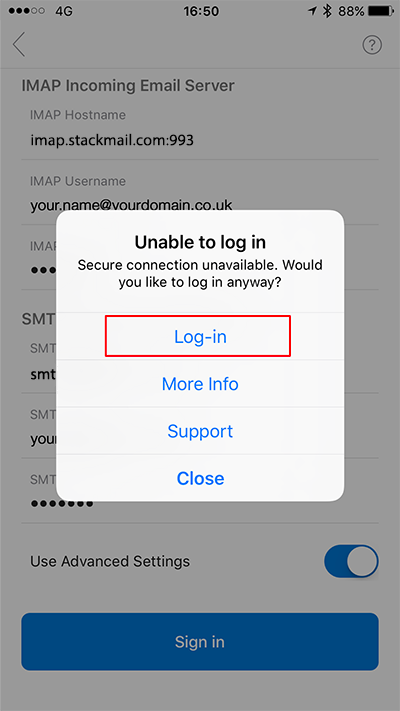
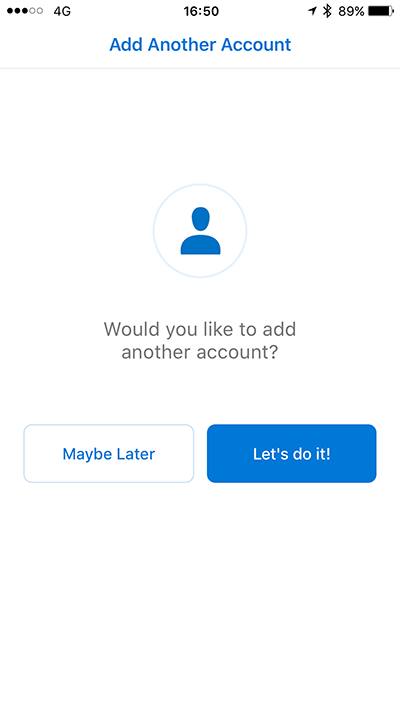
After a few seconds you should see the following screen.
This lets you know that you have been successful. If you want to add another account then tap on the “Let's do it!” button to add another account follow the steps that we just covered above.
If you are not adding another account then tap on the “Maybe Later” button and you will taken to your in-box via a small tutorial explain some key features in the app.
That is it you have successfully added your email account to the Outlook App on your iPhone or iPad.