

Start by downloading the software from the TeamViewer website:
https://download.teamviewer.com/download/TeamViewerQS.dmg
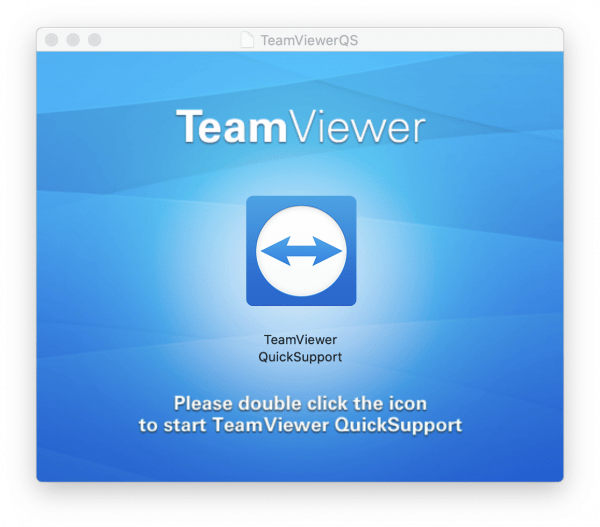
Double click the Disk Image that is downloaded to open it.
Then double click the the icon to start TeamViewer QuickSupport.
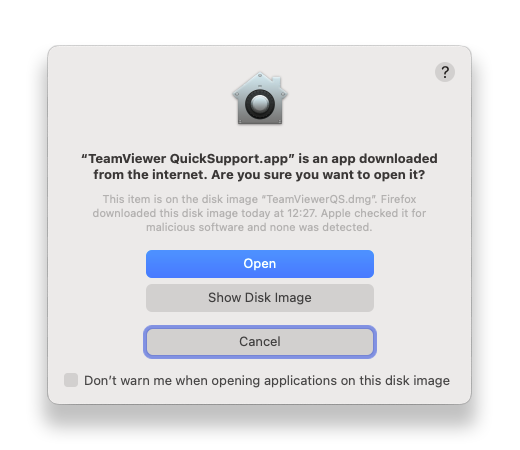
Click the Open button on the security prompt
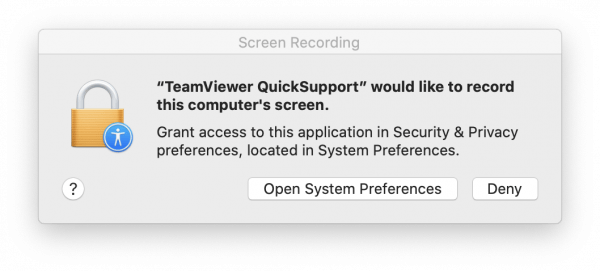
Allow TeamViewer permissions to access your computer in the next window. Sequentially click on each button and allow it access.
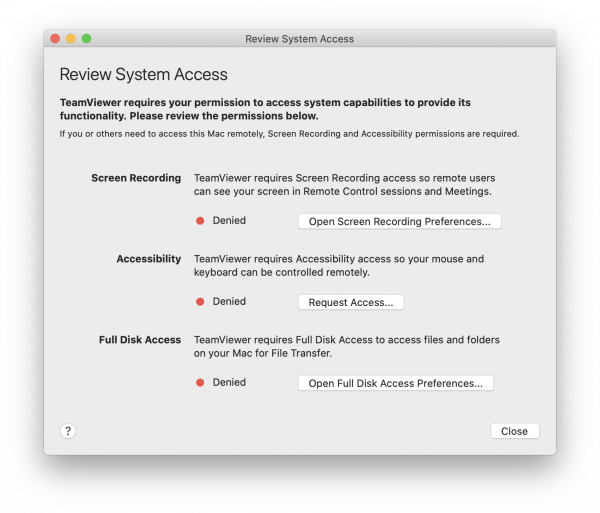
Clicking on "Open Screen Recording Preferences…" will open the "Security & Privacy" preferences pane. Check the box next to TeamViewer. The preference window will warn you that you will need to quit TeamViewer, click "Later". Do not close the preferences window yet.
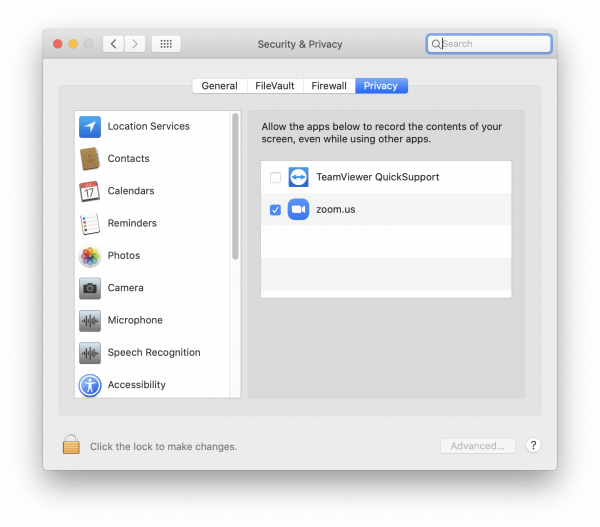
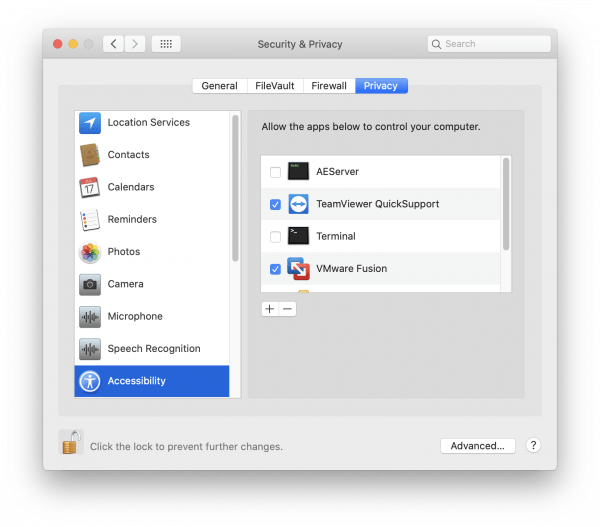
In the same preferences window click "Accessibility" and then unlock the preferences pane by clicking the Lock icon at the bottom of the window. You will need to enter your username and password for the computer. Once unlock, scroll through the left panel to find the "TeamViewer QuickSupport" item and check the box. Do not close the preferences pane yet.
In the left pane of the preferences window scroll down to "Full Disk Access" and select it. On the right pane click the "+" icon at the bottom of the list.
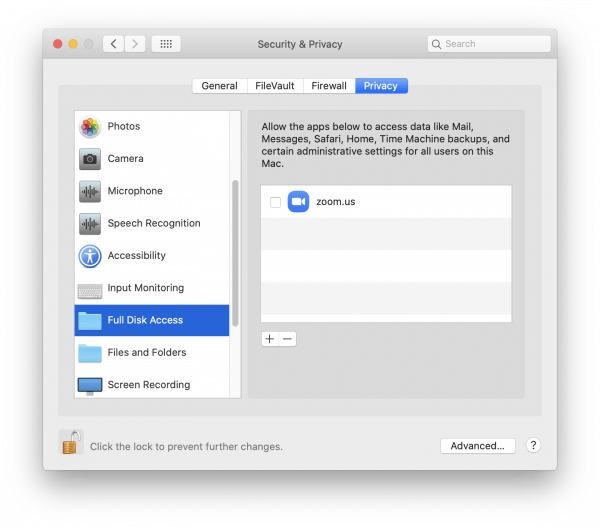
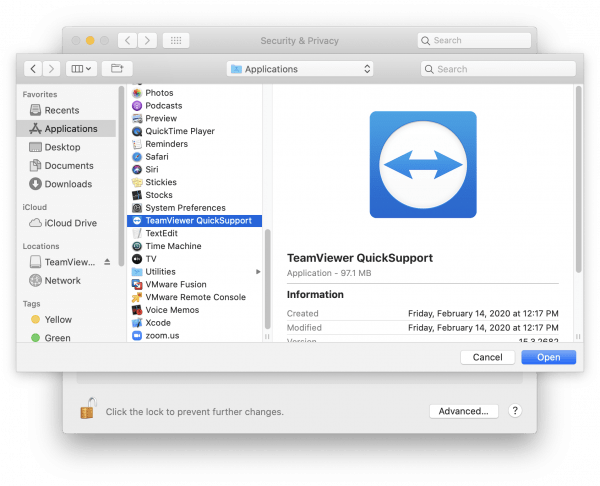
In the file chooser click the "Application" shortcut and then locate "TeamViewer QuickSupport" and select it from the list. Click the "Open" button. A warning dialog will appear, dismiss it by clicking "Later".
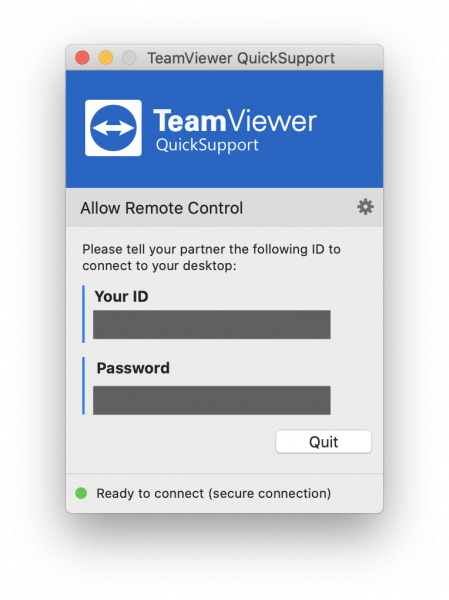
You can now click the "Close" button on the TeamViewer "Review System Access" dialog. The application will then present you with credentials to provide to your administrator.